How to create an Apple Developer Account?
Developer platforms give open-source platforms to build capabilities, new functionalities, new applications and in addition also help organizations in building a strong and progressive base for their own growth. Such platforms facilitate developers to write software using libraries, use already available APIs.
In this article we will learn more about the Apple developer program and how to create an Apple developer account, learn about its features, functions and limitations in this article.
Apple Developer Account
Apple developer or Apple developer connection is a software development tools application programming interfaces (APIs) and technical resources repository. It has resources which help developers to create software for MacOS, iOS, iPadOS, WatchOS and tVOS platforms. Post creation of Apps they are submitted for internal review to App Store connect. Post approval they can be distributed publicly via the App store (iOS) for iOS and iPadOS Apps, iMessage app store for message apps and App store (tVOS) for Apple TV apps and so on.
Features of Apple developer account
- Create App store product pages
- Test apps with TestFlight and have your App tested with 10,000+ external testers
- Creation of promotional offers and promo codes
- Unlimited hosting and bandwidth for apps
- Apple give feature of user verification to ensure that your users are actual users, help to see you get paid
- Pre-ordering of your apps
- Apps promotion on top of relevant searches
- Releases and updates Apps manually or automatically at a time of your choice or in stages
- Reply to user reviews on your apps
How to create an Apple Developer Account?
You can create your own App available on the App store for iOS users. But for that as per Apple policies you need to set up your own Apple developer account for your app to be published.
If there are multiple Apps then each app will need its own developer account.
Step 1:
Go to https://developer.apple.com/
- Click on “Account” at the top of the page

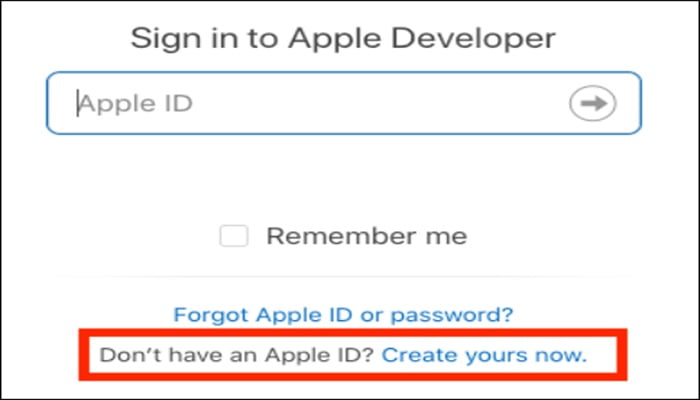
If you don’t have an Apple ID, you can create one by clicking on the “Create yours now” link next to “Don’t have an Apple ID?”
Post creation of Apple ID, enable two-factor authentication on it which is a requirement by Apple for all Apple IDs.
Step 2:
- Click “Join the Apple Developer Program”
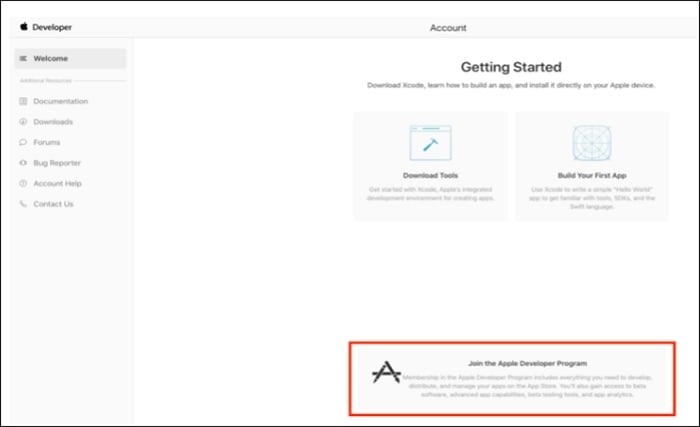
- This will take you to a page where Apple tells you all about the developer program. You can read through and once ready then “Enroll” button.

There are two types of Apple developer accounts – Individual and company / organization
Individual account – allows only single primary login to be created to the iOS developer account. The developers name will be made public on App store with your first and last name
Company/organization account – Allow multiple user logins to be created and managed with varying permissions capabilities for each login. The developer’s name will be made public with the company / organization name.
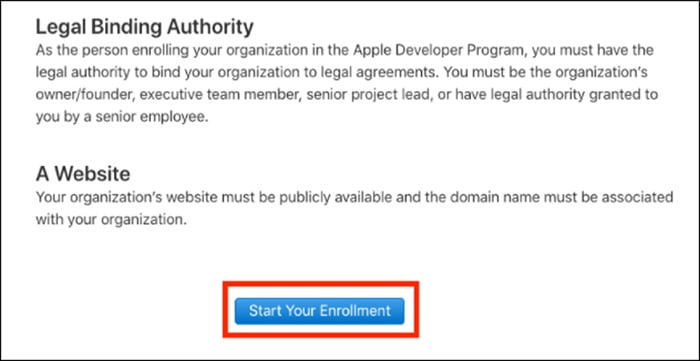
- Click on ‘Start “Enrolment”
Step 3:
- Confirm email address, name, and Country location is correct, then select the type of account that you’re enrolling as
- Verify your email address, name, and country location then select the account (or entity type) that you’re going to Enroll as
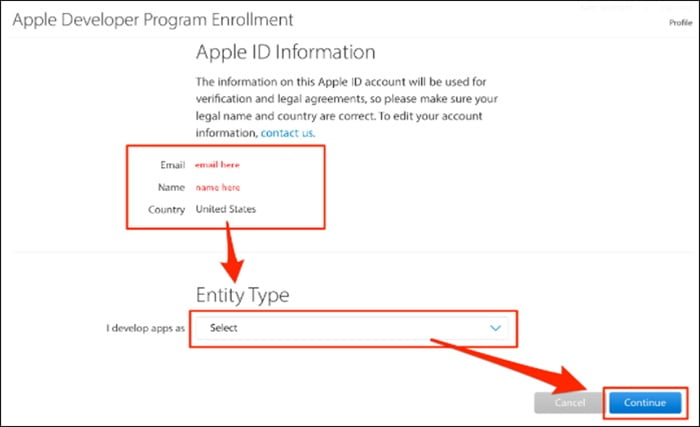
If the App is built by you as an individual, then Enroll as an individual. If the App was built by company, then Enroll as Company/Organization. In order to do so, you will need to provide a Dun and Bradstreet (DUNS) number. If you don’t have a DUNS number yet, it is free from below link
https://fedgov.dnb.com/webform/displayHomePage.do
Step 4:
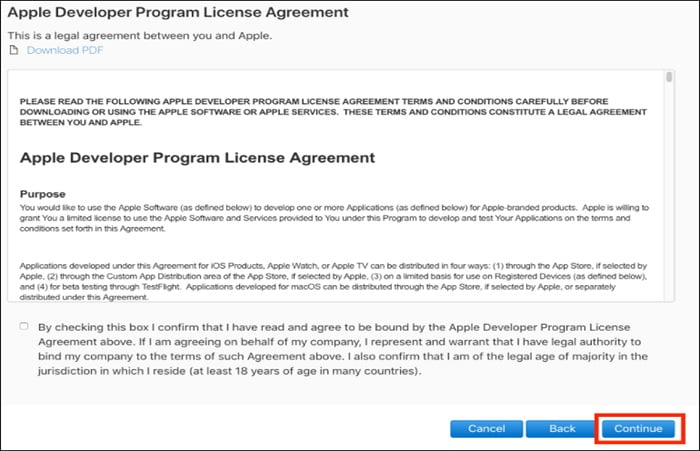
Enter in your contact information and read through the agreement at the bottom of the page
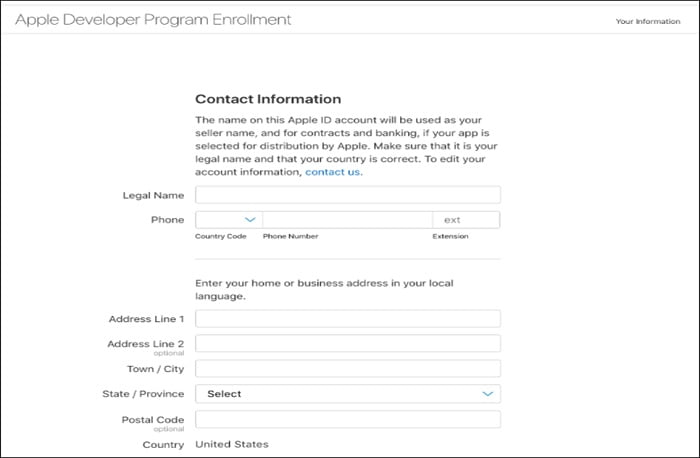
- Read through the Apple developer account agreement and click on the checkbox confirming that you’ve read it, and click Continue.
Step 5:
- Verify your account information then click “Continue”.
Step 6:
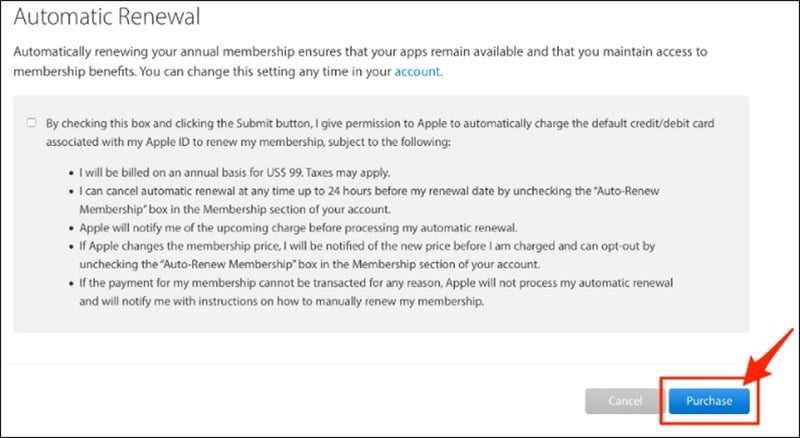
- Decide if you want Automatic Renewal
- It will show a screen informing enrolment fee and its duration. You can opt for automatic enrolment renewal so that annual renewal happens automatically (Optional)
Step 7:
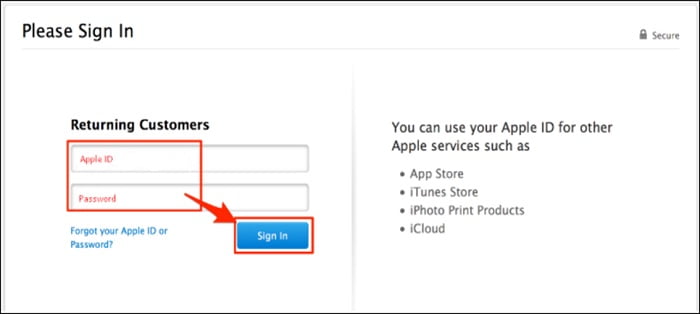
- Sign in with your Apple ID on next page
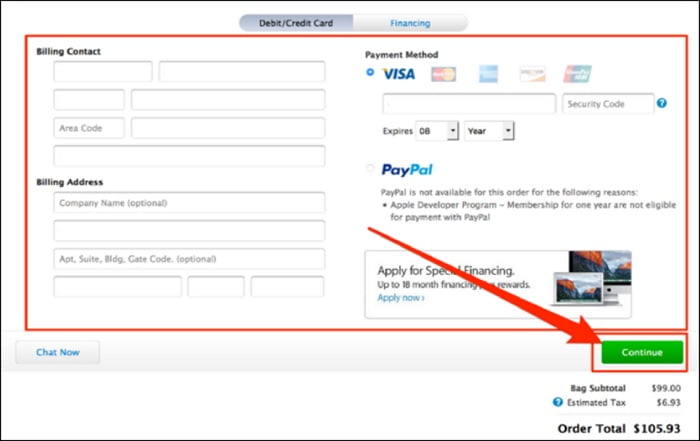
- Fill in your billing details and click continue to finish payment
- Fill out rest of the information on remaining screens
Within 24 hours Apple will send confirmation mail with successful creation of Apple developer ID.
Continue Reading:
Tag:services

