VPNs allow access to restricted sites with secure connection. In FirePower devices we can configure site to site VPN on FTD devices. The site to site VPN is configured for FTD devices using the FirePower Defence management console.
In today’s blog we will cover in detail about how site to site VPN is configured on FTD devices.
Site to Site VPN Configuration on FTD
To configure a site to site VPN on FTD the first step is to configure FTD on FDM.
Define protected networks
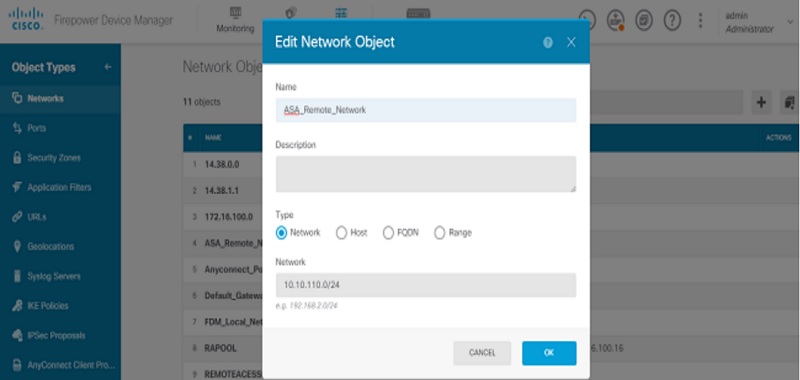
Navigate to Objects -> Networks -> Add New Network
Configure objects for LAN networks from FDM graphic user interface (GUI).
I. Create an object
Create an object for the local area network behind the FDM device as shown in figure above.
Create an object for remote network behind ASA device.
II. Configure site to site VPN
Navigate to Site-to-site VPN -> create Site-to-Site VPN connection
Use Site-to-site wizard on FDM as depicted below:
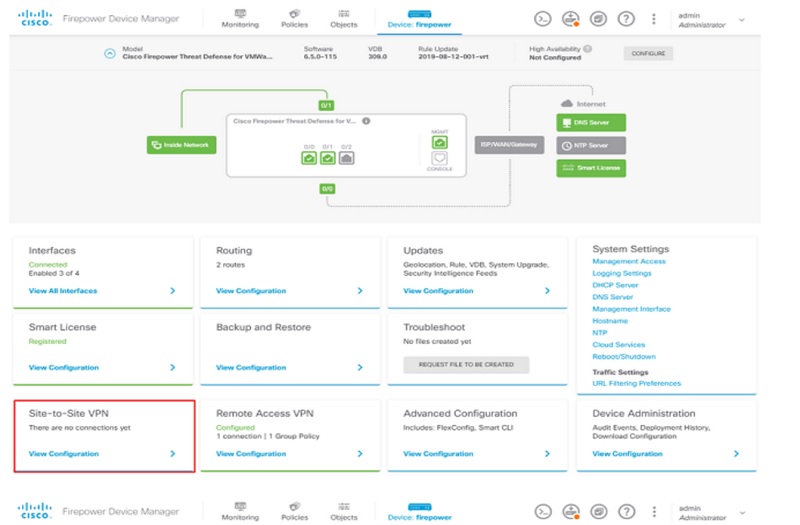
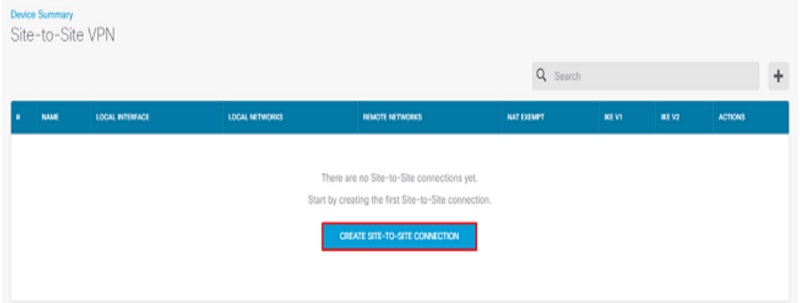
Give name to Site-to-site VPN connection a profile name. Select the external interface for the FTD and then choose a local network that will need to be encrypted across site-to-site VPN.
Set the public interface of remote peer. Then choose the remote peer’s network that will be encrypted across site-to-site VPN.
On next page select ‘Edit’ and set the Internet Key Exchange (IKE) parameters.
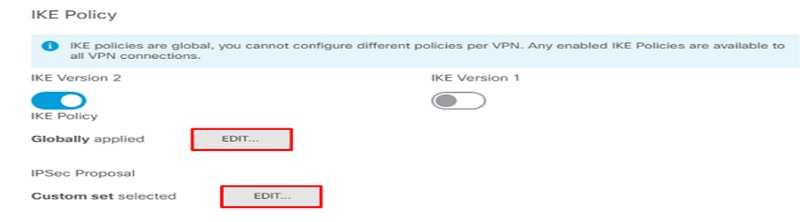
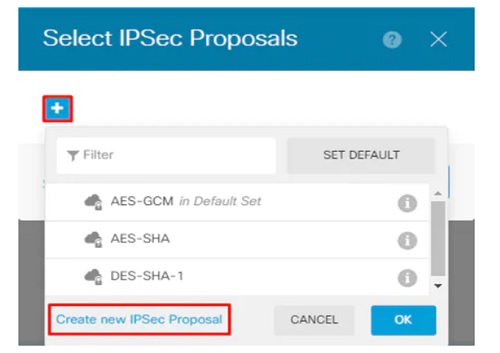
Select ‘create new IKE policy’ and add parameters related to Encryption ‘AES256’; Integrity hash ‘SHA256’; Pseudo random function (PRF) hash ‘SHA256’.
Post this, create new IPSec proposal.
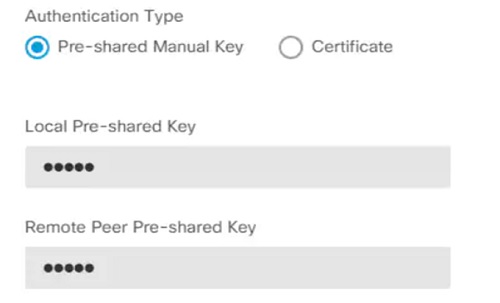
Set the authentication to a pre-shared key and enter the pre-shared key (PSK) which will be used on both sides.
Set internal NAT exempt interface. If multiple inside interfaces that will be in use a manual exempt NAT rule will be created under policies -> NAT
A summary of site-to-site will be displayed.
To deploy the new site-to-site VPN
Click Deployment -> Deploy Now.
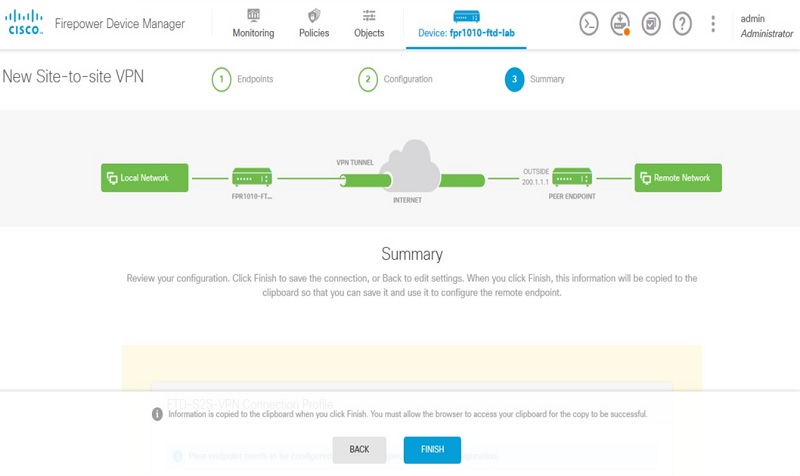
You can also use FTD CLI commands to view Site-to-Site VPN SA and traffic statistics.
> show running-config crypto
> show isakmp
> show isakmp sa
> show ipsec
> show ipsec sa
> show isakmp stats
> show ipsec stats
III. Setup ASA configuration
Enable IKEv2 on the outside interface of ASA.
Crypto ikev2 enable outside
Create ikev2 policy to define same parameters as configured on FTD.
Crypto ikev2 policy 1
Encryption aes-256
Integrity sha256
Group 14
Prf sha256
Lifetime seconds 86400
Create a group policy to allow IKEv2 protocol.
Group-policy FDM_GP internal
Group-policy FDM_GP attributes
Vpn-tunnel-protocol ikev2
Create a tunnel group for peer FTD public IP address.
Tunnel-group 192.168.100.10 type ipsec-l2l
Tunnel-group 192.168.100.10 general-attributes
Default-group-policy FDM_GP
Tunnel-group 192.168.100.10 ipsec-attributes
ikev2 local-authentication pre-shared-key cisco
ikev2 remote-authentication pre-shared-key cisco
Create an access-list that defines the traffic to be encrypted.
Create an IKEv2 IPsec-proposal that references the algorithms specified on the FTD.
Crypto ipsec ikev2 ipsec-proposal FDM
Protocol esp encryption aes-256
Protocol esp integrity sha-256
Create a crypto map entry to tie configuration.
Create a NAT exemption statement to prevent VPN traffic from being natted by firewall.
Continue Reading:
Cisco FTD NAT: Configure and Verify NAT on FTD